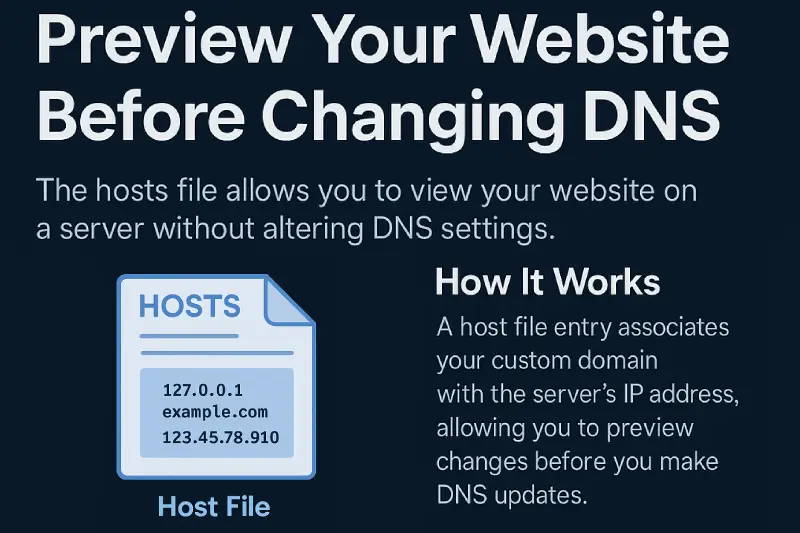
When you’re building or migrating a website, you might want to see how your site looks on the new server before changing DNS or finalizing a domain name.
Fortunately, there’s a simple trick using your system’s hosts file — no need to touch DNS settings.
🧠 What Is the Hosts File?
The
hostsfile is a local file on your computer that maps domain names to IP addresses before DNS does.
When a browser requests a website:
- It first checks your computer’s
hostsfile. - If a match exists, it uses that IP.
- If not, it asks the DNS server.
This lets you override the DNS — ideal for testing websites before switching DNS or registering a domain.
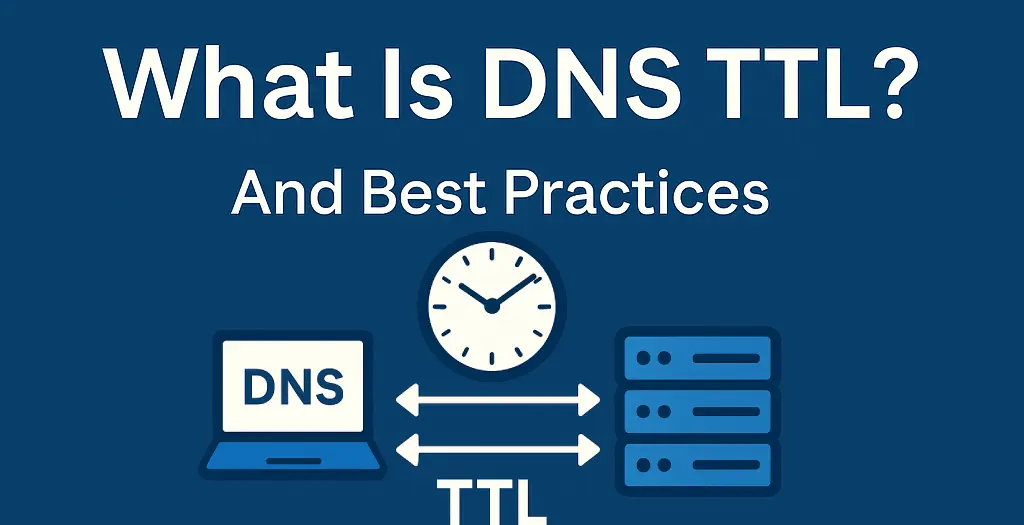
🔧 How DNS Normally Works
DNS (Domain Name System) translates names like example.com to IP addresses like 123.123.123.123.
When you buy a domain like mynewdomain.gr, you assign nameservers (e.g., pleskcluster1.webhosting4u.gr) that handle its DNS records.
When a visitor enters your domain in the browser:
- The system first checks the
hostsfile. - If no match is found, it queries the assigned nameserver.
- The result is shown in the browser.
Without DNS, we’d need to remember every IP manually — that’s where the hosts file becomes your best friend during testing.
🛠 How to Edit Your Hosts File
📂 File Locations by OS
| Operating System | Hosts File Location |
|---|---|
| Windows | C:\Windows\System32\drivers\etc\hosts |
| Linux | /etc/hosts |
| macOS | /etc/hosts |
✏️ How to Edit
-
On Windows:
Right-click Notepad → Run as Administrator → Open the file manually. -
On Linux/macOS:
Use terminal editors likenanoorvi.
🧾 Sample Entry
Add these two lines under 127.0.0.1: